This is a step-by-step procedure to perform a fresh install of Minislack version 0.3.
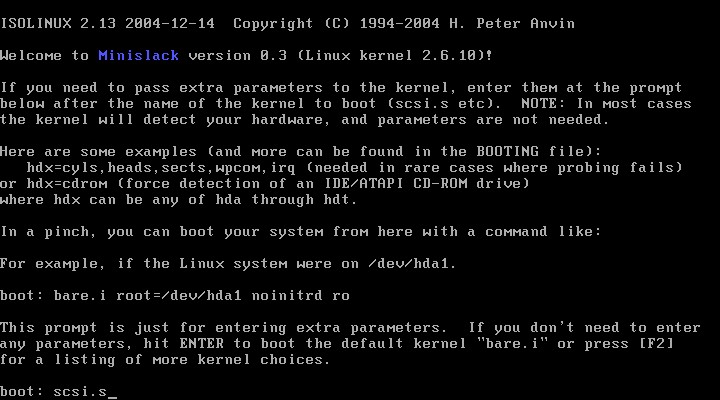
1. Boot from the CD and :
accept the default boot options (if you use standard IDE controler)
or enter the name of the kernel (“scsi.s” for SCSI controler)
then press [enter]) :
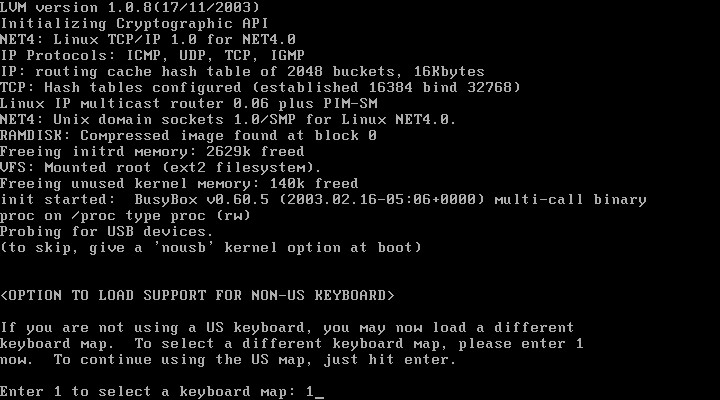
2. You'll be prompted to select the keyboard map, enter “1” :
3. Then select your keyboard type :

4. Login as root (no password at this stage)
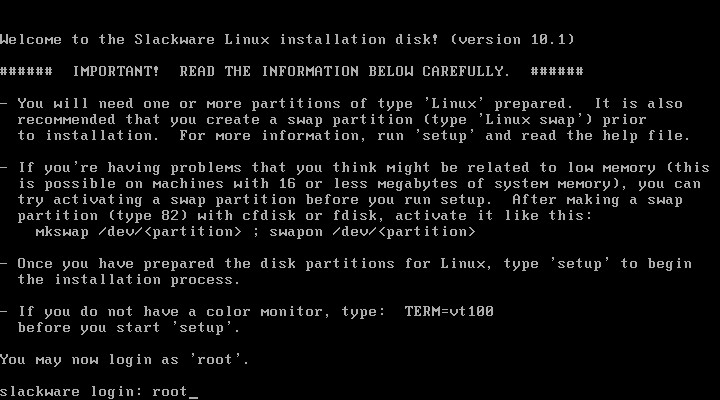
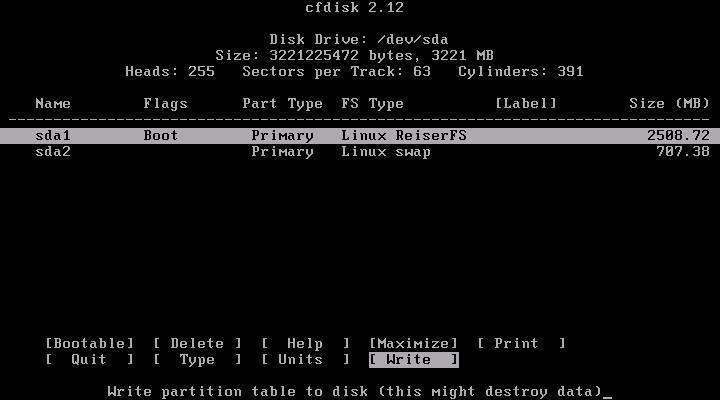
5. Your hard-disk must be partitioned properly to install Minislack :
Create at least 2 partitions with the cfdisk utility :
A swap partition
A main “root” partition
Note : more partitions can be used for different mount-points such as /var, /usr, /home (see Linux Partition HOWTO at http://www.tldp.org/HOWTO/Partition/index.html)
Swap partition may have the following specifications : primary, number 1, size > 500MB, type 82,
Root partition may have the following specifications : primary, number 2, size > 1,5GB, type 83, active.
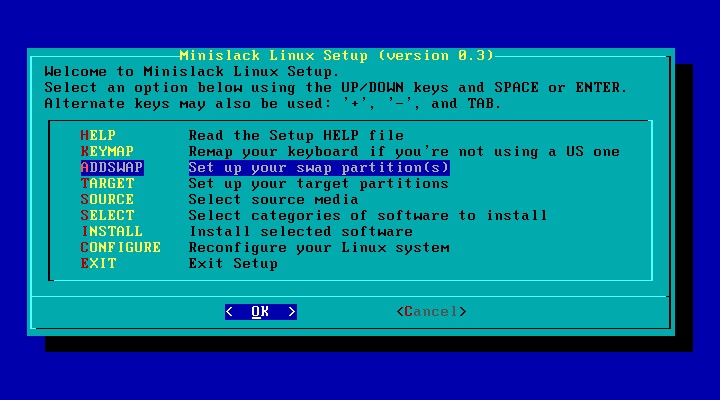
6. Enter “setup” at the bash prompt, choose [ADDSWAP] :
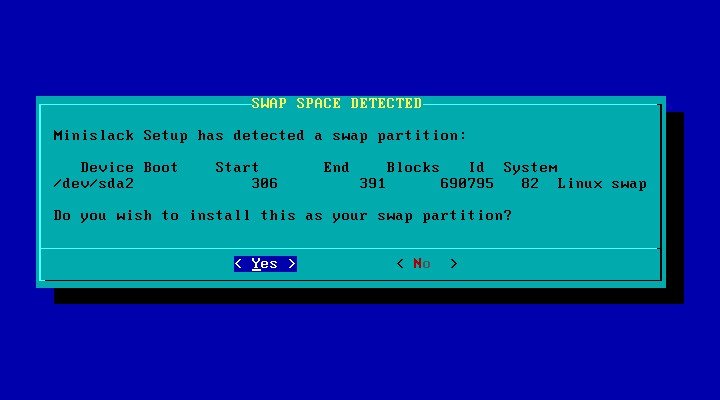
7. Your swap partition should be detected, answer [YES] :
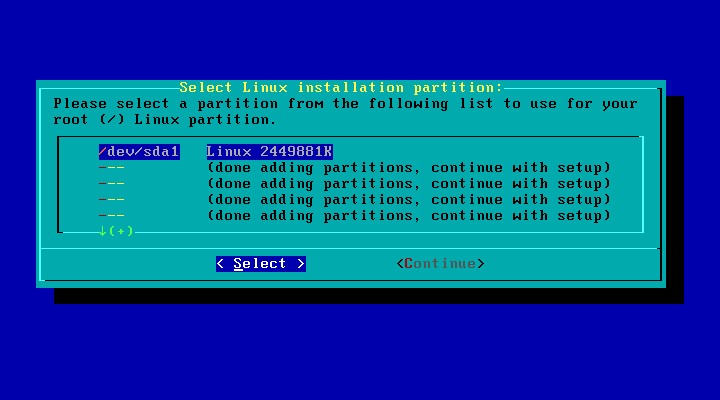
8. Your root partition should be detected, answer [Select] :
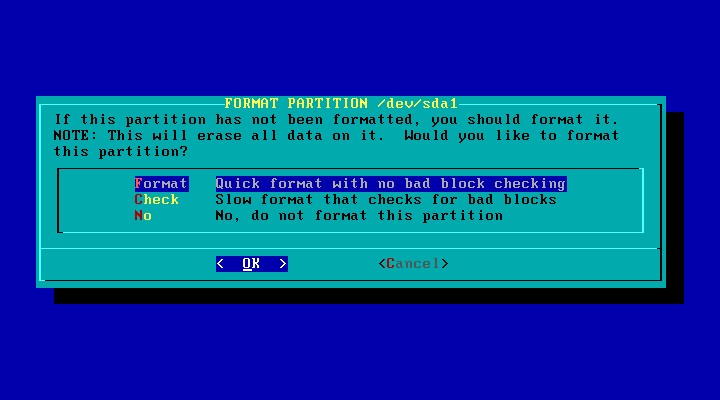
9. Choose to format the root partition :
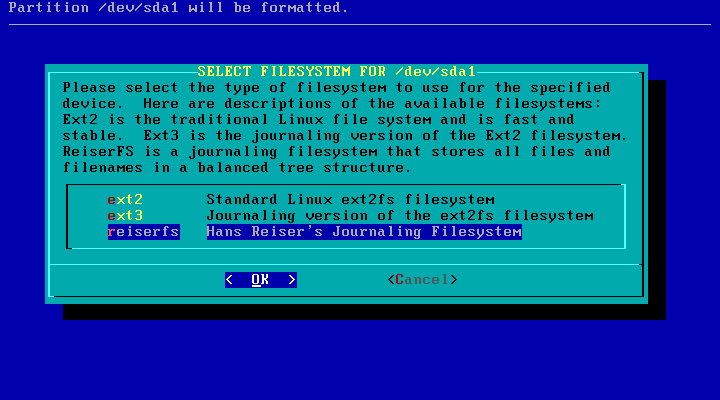
10. Reiserfs is a fast and reliable filesystem :
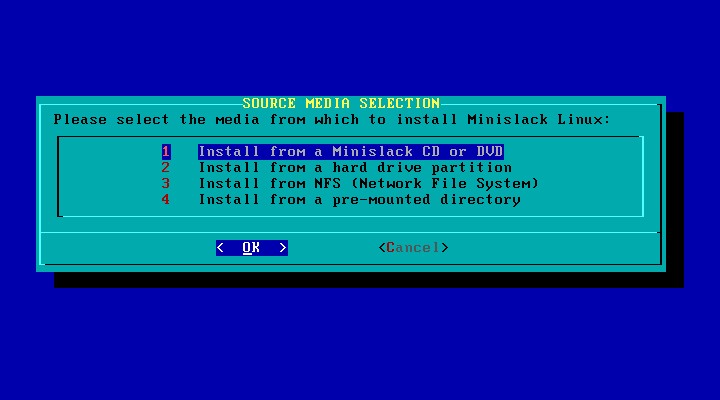
11. After formatting, you’ll be asked for the source of packages : choose the CD option ; and then [auto] :

12. Minislack is a small distribution, so everything may be useful. If not, unselect unwanted categories :

13. Select [full] install, and then [OK]. Setup will begin installing packages :
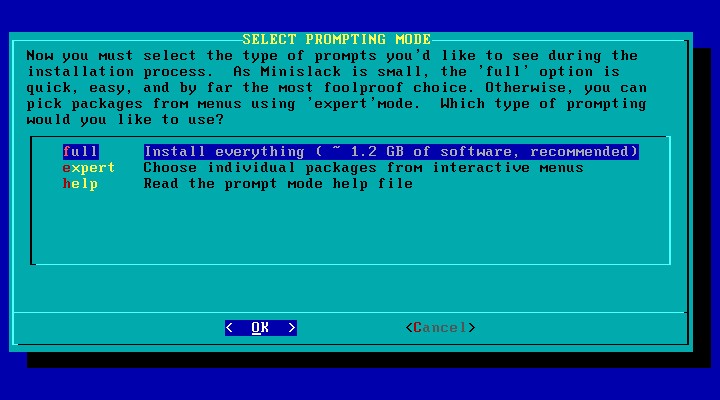
please wait 20 minutes ...
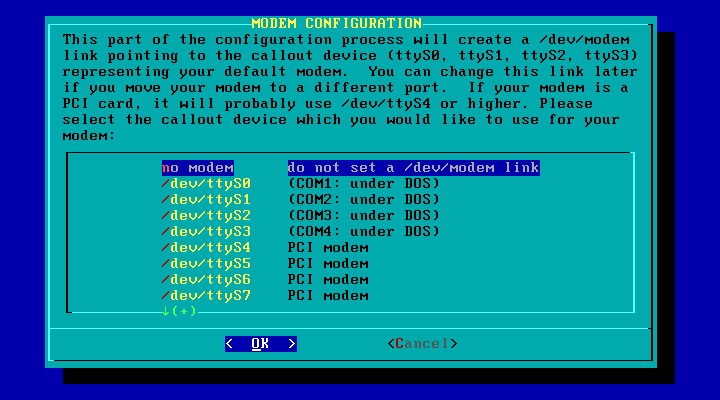
14. If you’re using an DSL modem, choose [no modem] (you'll run “adsl-setup” later), else select serial port for your modem :
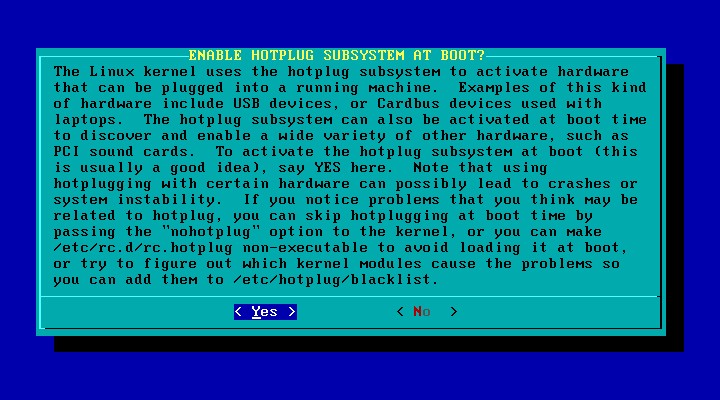
15. In most cases you SHOULD activate Hotplug at boot, choose [Yes] :
16. Choose your preferred Linux Loader install mode. [simple] will work on most disks :
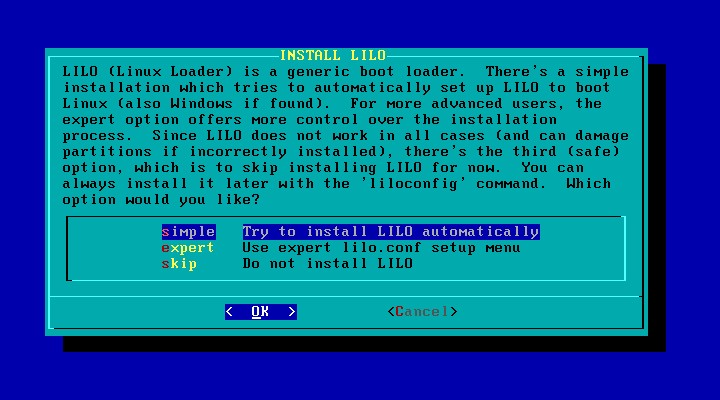
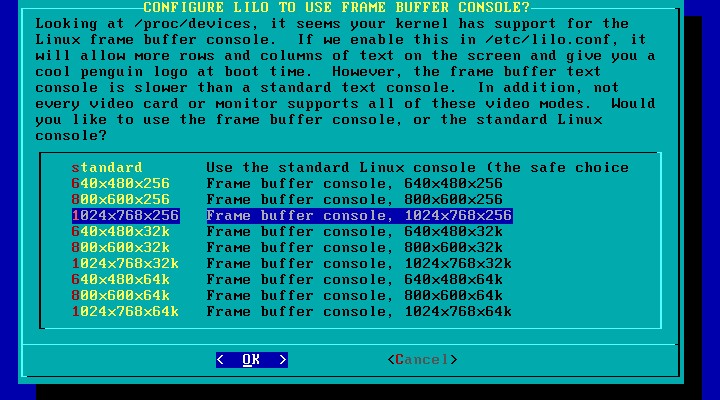
17. [standard] is always safe until you’re sure that your video card is supported for frame buffered console ([1024x768x256] is safe with most modern video controlers) and then optionally add required kernel boot parameters (ie : support for IDE cdwriter) :
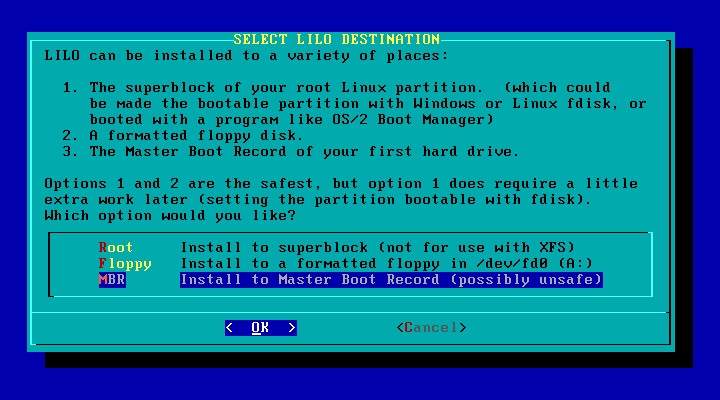
18. MBR is generally a good place to install LILO :
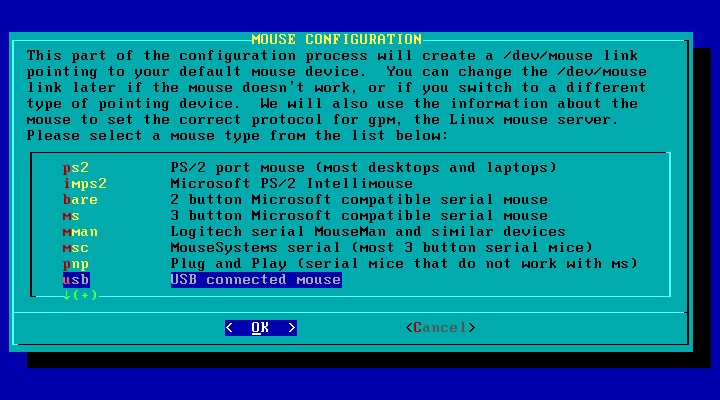
19. What kind of mouse connector interface do you use ?
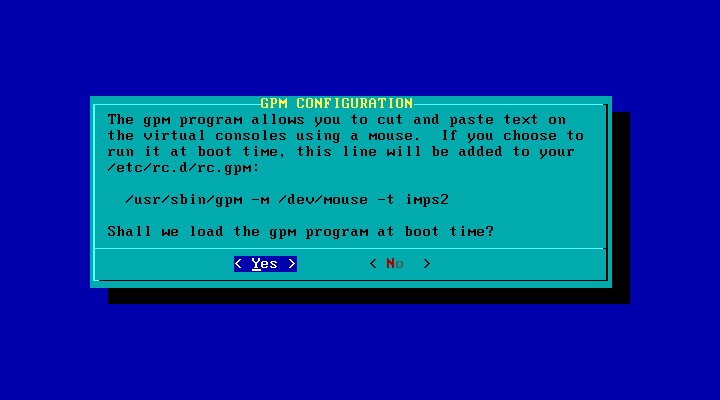
20. Do you need mouse in text console ?
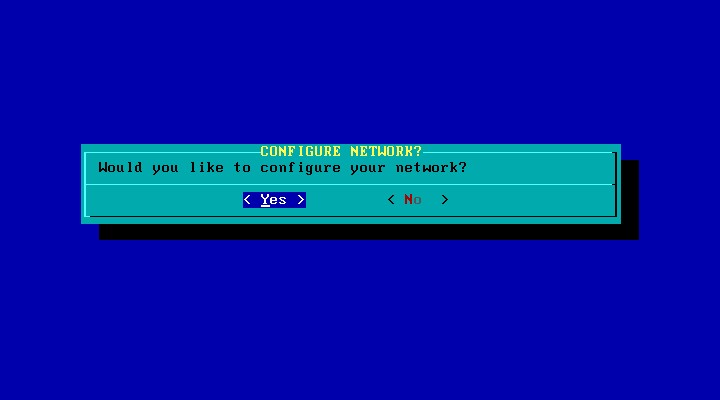
21. To setup Network parameters, answer [Yes] and then answer the questions :
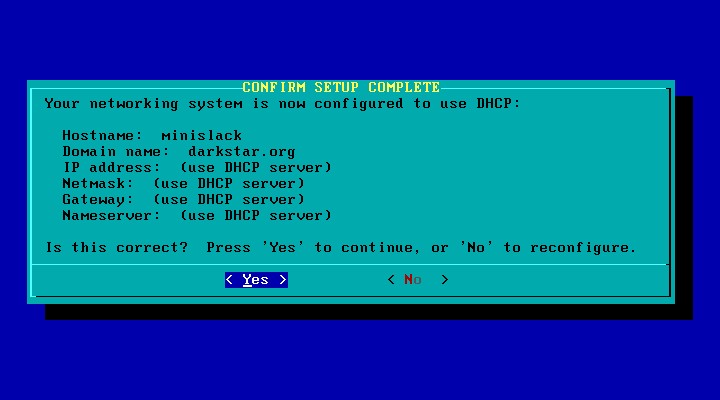
22. This is an example LAN configuration with DHCP :
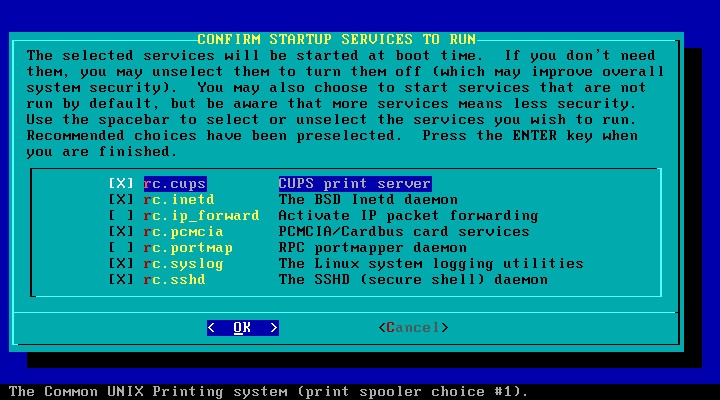
23. Select on-boot services :
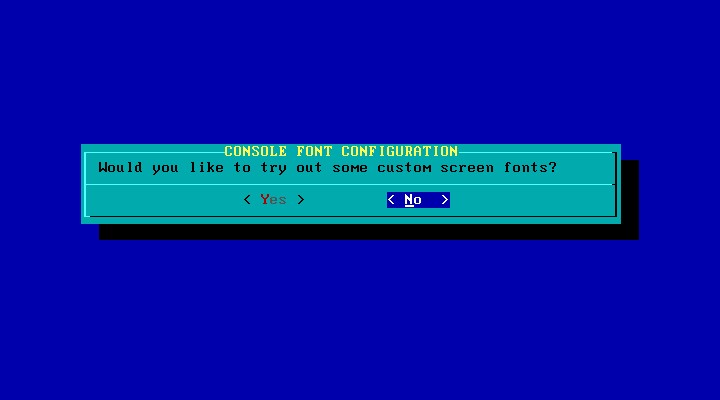
24. Default screen font should be OK, choose [No] :
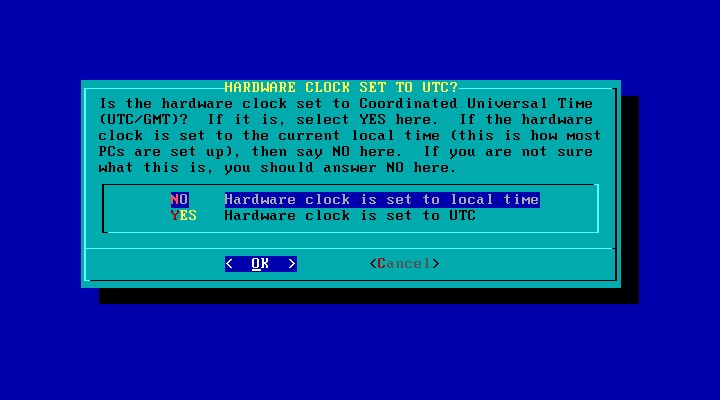
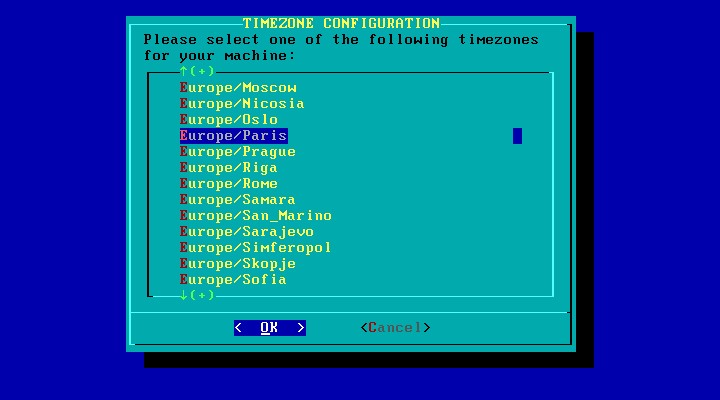
25. Use local time, and choose your time zone :
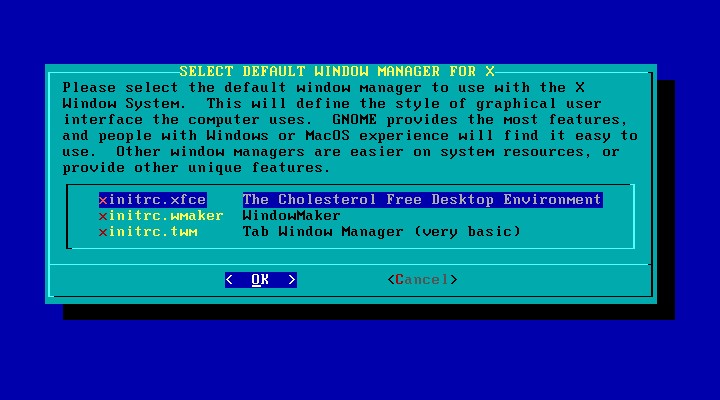
26. Select your preferred Window-Manager :
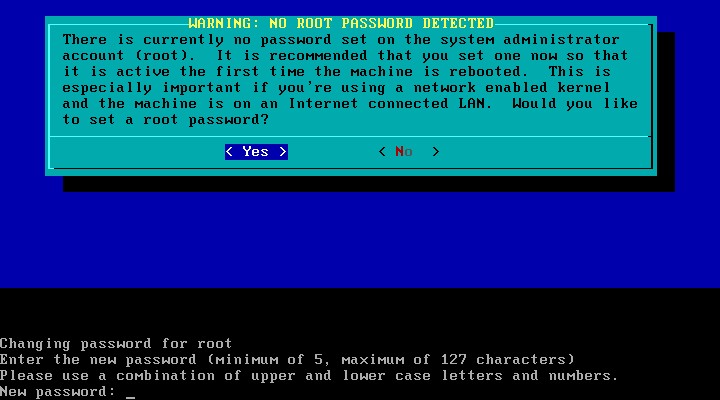
27. Set the root password :
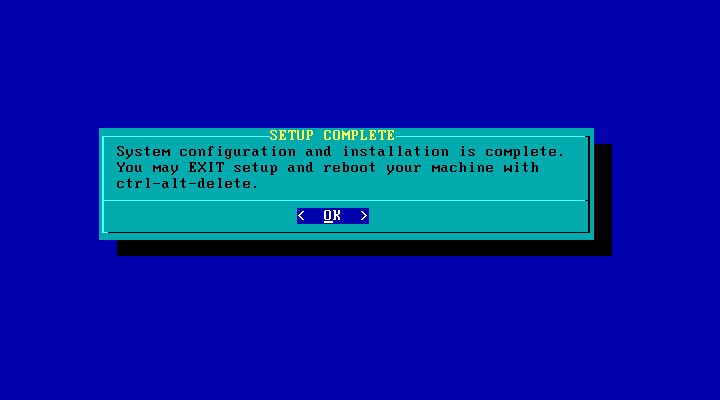
28. Exit from “setup” and press [ctrl alt delete] to reboot :
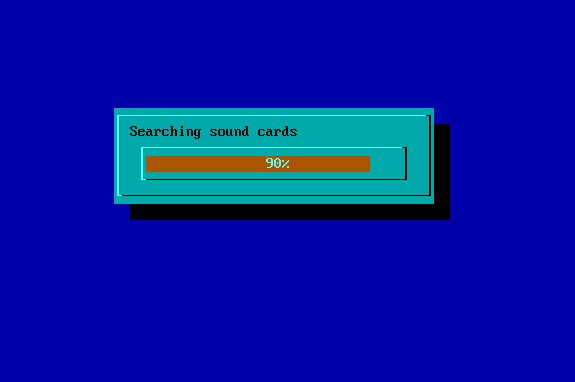
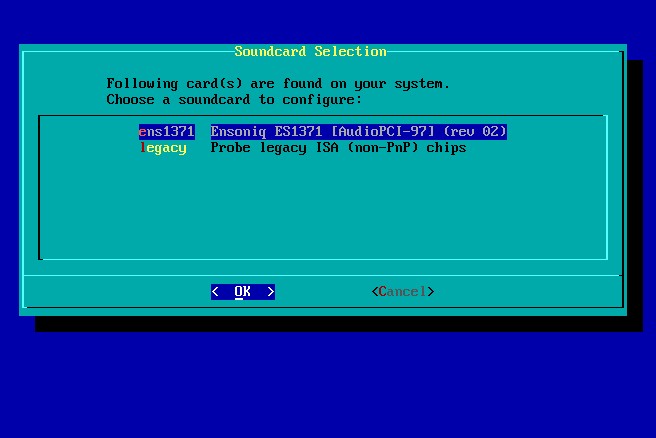
29. After reboot and first login, run “alsaconf” to configure your soundcard, and the “alsactl store” :
30. You can test the graphical runlevel with the command “init 4” :
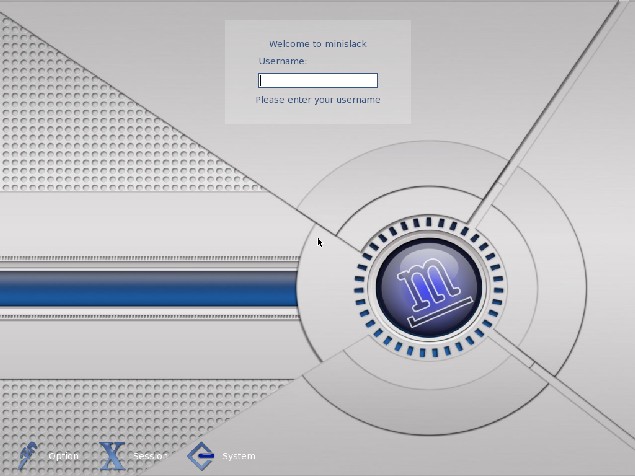
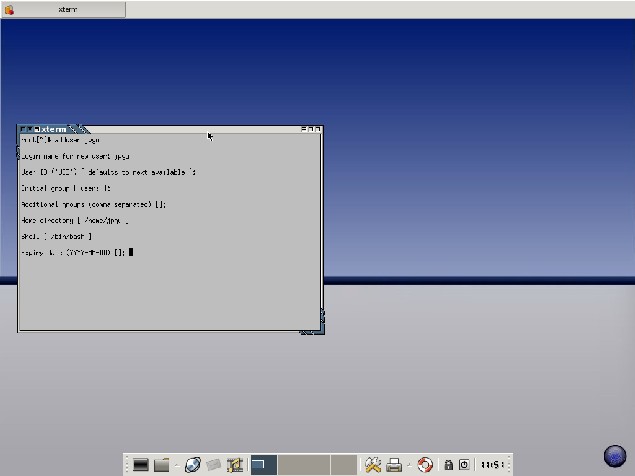
31. Try a GDM login , CONGRATULATIONS ! you're ready to add an unprivileged user and start working.